.jpg)
Sunday 9 December 2012
Summer camping in my DIY Teardrop
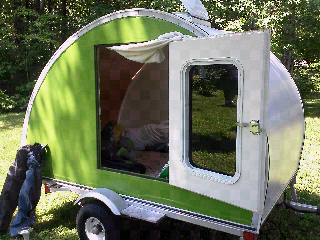
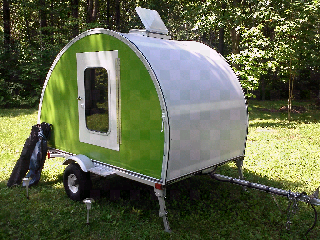
This is a picture of one the few camping weekend where my teardrop have been used this summer. My sister, her husband and their two kids borrowed it for the weekend to go camping at The "Parc régional des Appalaches" in the south of the pronvince of Québec in the mountain bordering Québec and Maine. It seems the trailer was a bit tiny for 2 adults and 2 kids! Anyway, thay had fun. My teardrop is now stored for the winter.
.jpg)
Sunday 16 September 2012
Teardrop trailer towed by a bicycle seen in Quebec City
Teardrop trailers became smaller then ever!
I have seen this homemade teardrop trailer hauled behind a bicycle in Old Port of Quebec City. I didn't have the chance to talk to the owner as I was in the bus at the time of the picture. I wonder who he was and the purpose of this miniature teardrop camper.Maybe someone have info about him?

Thursday 12 July 2012
Teardrop trailer new window
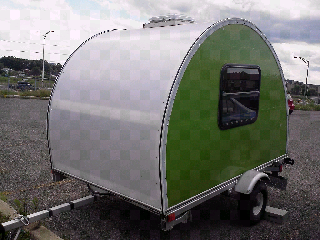
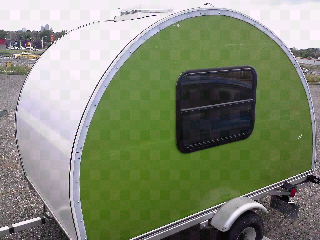
At first when I have designed my teardrop, I thought it was best to have only one window in the door to hav more wall surface to hang stuff and to eventually build cabinets. Problem is I don't have enough ventilation with only the roof vent since the door's window don't open. So, I made the uneasy decision to cutout the wall to install another window. This new window has a crank out bottom half and a screen to keep bugs out. I have bought it on ebay for 100$ + shipping + #\&§ UPS brokerage fees. I just need to make sure it will be completly sealed.
Sunday 24 June 2012
I have finaly weight my teardrop trailer
I was passing by the truck weight station on the freeway near Trois-Rivières, Québec and it was closed for summer. So I decided to stop to check if it was on and it was. So here are the results: total weight with camping gears: 330kg (725pounds) and tongue weight: 30kg (66 pounds).

Friday 30 March 2012
My teardrop trailer construction and design presentation
Here is a powerpoint presentation explaining the design and construction of my treardrop trailer. PLease join my blog to receive information about future project and share it on facebook.
Friday 9 March 2012
New teardrop trailer layout
New teardrop trailer layout
I'm designing my next teardrop trailer shape using AutoCAD. Here are the 3 layout I have chosen so far. 1st one is my actual teardrop shape 8ft x 5 ft floor. 2nd and 3rd are new designs both 9ft x 5ft floor.
Tell me what you think about it...

I'm designing my next teardrop trailer shape using AutoCAD. Here are the 3 layout I have chosen so far. 1st one is my actual teardrop shape 8ft x 5 ft floor. 2nd and 3rd are new designs both 9ft x 5ft floor.
Tell me what you think about it...

Sunday 4 March 2012
New teardrop trailer design
New teardrop trailer design
I am thinking about building another teardrop trailer. I want it a bit bigger but still towable with any compact car. I am considering the new design shown below. It is 1 foot longer but still 5 feet wide and 5 feet inside height.
 |
| Actual design (8 feet long) |
 |
| New design (9 feet long) |
 |
| My actual home built teardrop trailer (5ft x 5ft x 8ft long) |
Saturday 4 February 2012
My teardrop trailer mentionned in a popular blog about small houses and related
An article about my teardrop trailer have just been published this week in a popular blog talking about subjects related to small houses, small spaces and related stuff like teardrop trailer.
Thanks to Alex Pino for writing it.
You can visit Alex's blog at www.tinyhousetalk.com


Thanks to Alex Pino for writing it.
You can visit Alex's blog at www.tinyhousetalk.com


Friday 27 January 2012
My teardrop trailer specs
- Floor length: 8ft
- Floor width: 5ft
- Inside height: 5ft
- Overall length 11ft-8in
- Overall height: 6ft-6in
- Weight: 750 pounds (estimated)
- Suspension: 2000# leaf springs and axle
- Floor: BC fir plywood
- Walls: composite material sandwich (epoxy-fibreglass and polystyrene foam)
- Roof: Ultra high molecular weight polyethylene plastic (UHMW-PE plastic)
- Frame: all welded steel
- Color: green because it’s cool!
Future of my teardrop trailer
Future of my teardrop trailer
|
Actual prototype design (8ft long x 5ft high x 5ft wide) |
|
Future prototype design (9ft long x 5ft high x 5ft wide) |
- Some fine tuning will probably be needed next summer. I’ll see after extended use of it.
- I am planning to test it a lot next summer. I’m willing to lend it to many people to test it even more throughout the summer.
- I would like to build a second prototype. It would be a foot longer, same height and walls would be made of another material, easier to work with then fibreglass and foam.
- I am considering a lot of design modifications: a rear hatch, a second door, lightning system, electric ventilation, storage bin, etc... But I want to keep my design simple as possible.
- I like to receive suggestions and comments when people come to talk to me when I park at Walmart. It is a great source of inspiration and motivation.
Wednesday 25 January 2012
Construction of my teardrop trailer, the final touch

Last step:
üI have put everything back in place.
üI made sure there was no water leaks by filling each joint using butyl tape and silicon. (there was many leak at first, but it ended well!)
üI added a 4” queen size foam mattress for more comfort.
üCeiling have been finished with loan sheets.
 üWe also carry large plastic containers and an electric cooler to store camping goods and food.


Construction of my teardrop trailer, paint it
6th, paint it green:
- I took apart the walls to paint them green using urethane base paint.
- Inside was suppose to be green also, but it ended white so it seem calmer. I don’t regret this decision.
 |
| walls disasembled to paint them |
 |
| teardrop trailer being reassembled |
- I have chosen to paint it green, because everything look greener when it’s green...
 |
| there it is with finals colors and trims |
Construction of my teardrop trailer, some accesories
5th, add some useful features:
- A door may be useful to get in and out of the camper.
- A roof vent is also a must to keep air cool and of good quality.
- Jack stand prevent the trailer from bouncing and rolling during the night.
- An electric heater (not shown) also been added for surviving cold nights (remember I’m from Québec, far from Florida!).
 |
| door construction |
 |
| door handle |
 |
| roof vent |
 |
| door with window |
 |
| jack stand up |
 |
| jack stand down |
Construction of my teardrop trailer, the roof
4th, cover it with a roof:
üA roof made of ¼ inches UHMW plastic sheet screwed to the walls edge with stainless screws.
üUHMW can resist to cold temperature.
üVery elastic, so it take back its shape after an impact, won’t kink like aluminum.
üHave a better weight to deformation resistance then plywood.
ü

 üIt can’t be painted because nothing can stick on it, so smashed flies don’t stick also...
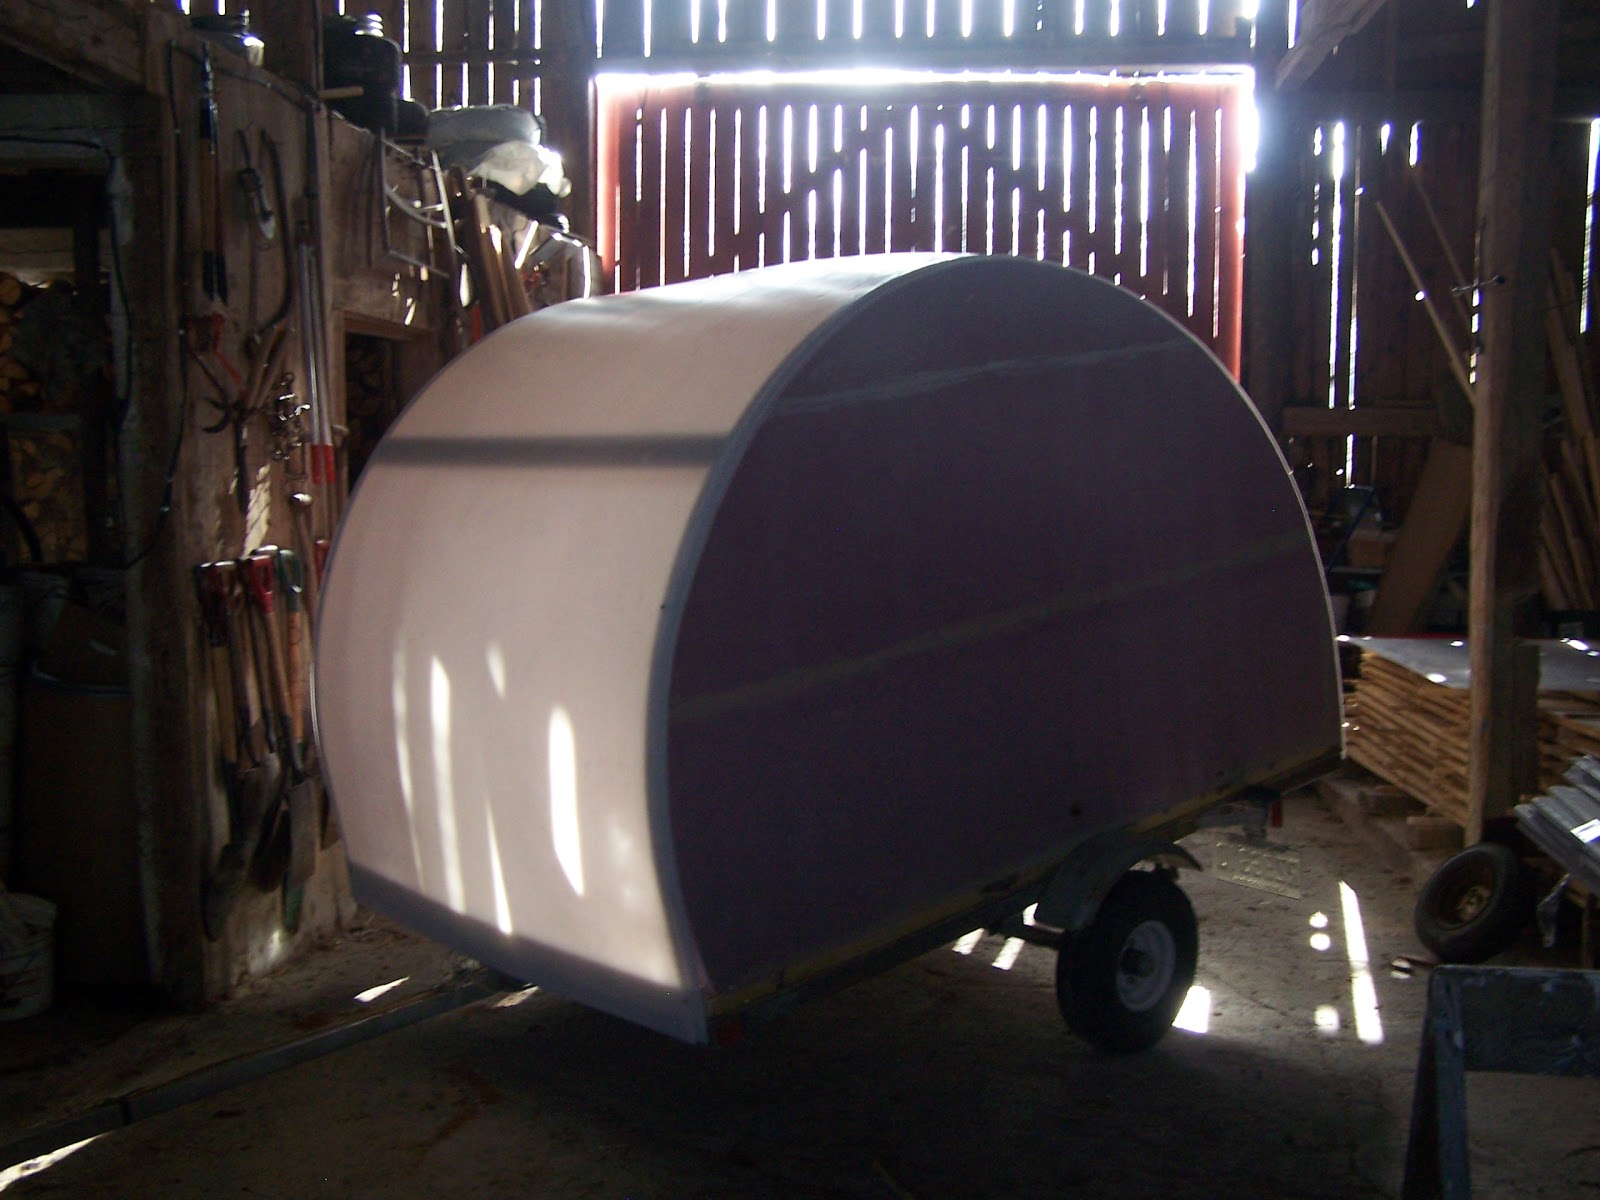
Construction of my teardrop trailer, walls and trailer assembly
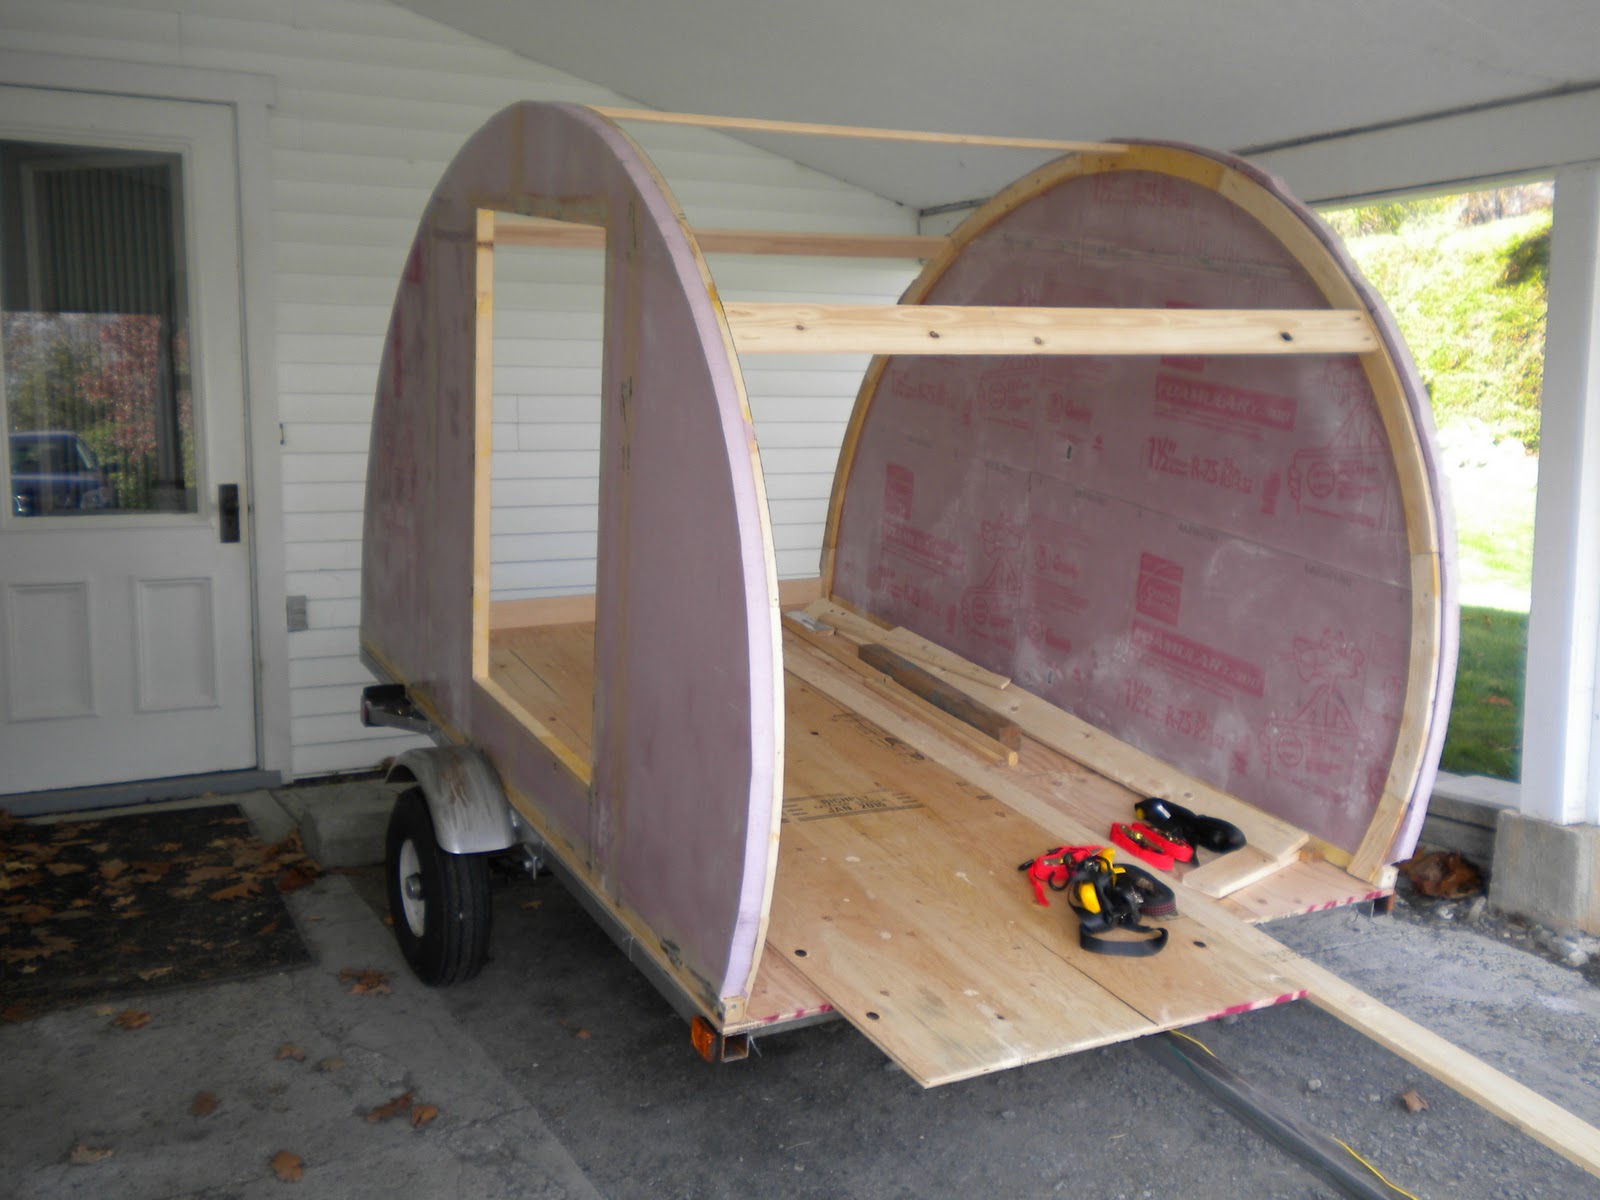
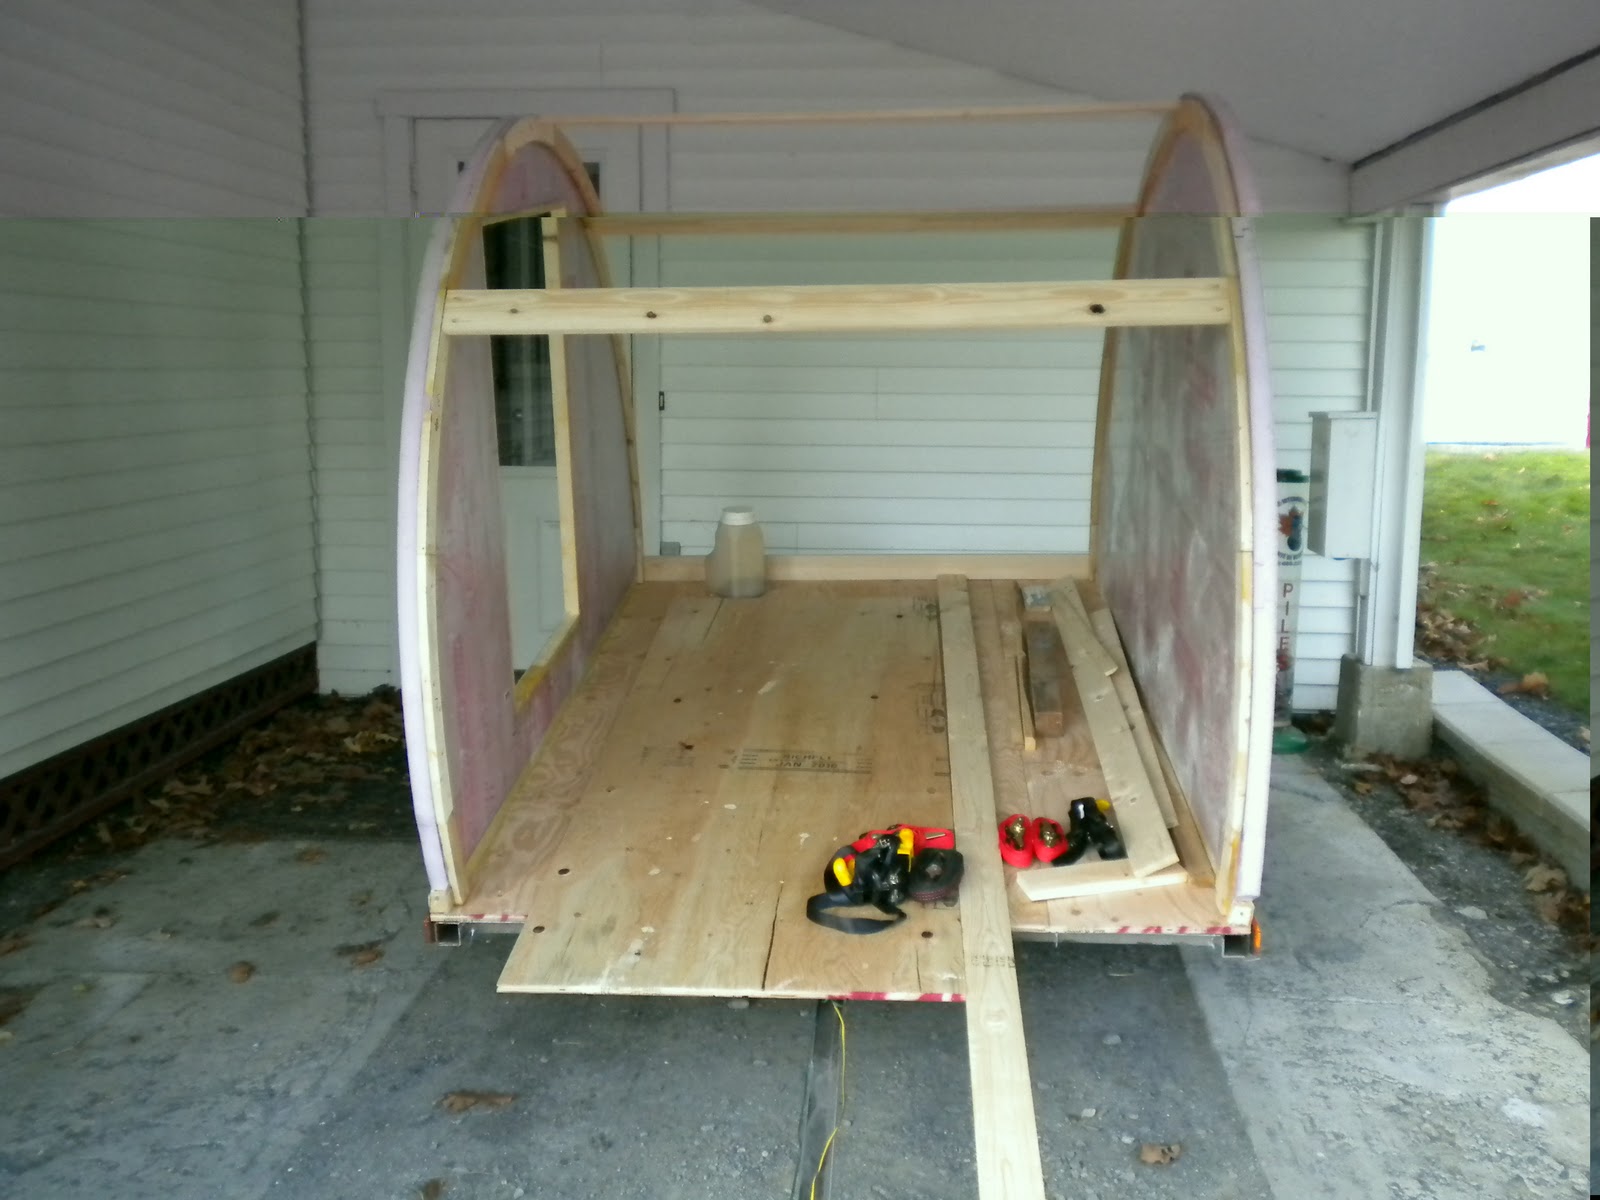
Third, put it together:
ü5/8” BC fir plywood screw on the frame for the floor.
üThan, the walls are screwed to the floor.
üWalls hold together by planks screwed at each end to walls edge.

Construction of my teardrop trailer, the walls
üSecond, the walls:
 üMade of composite material: a core of 1.5" foam between 2 layers of epoxy coated fibreglass.
üLightweight (much lighter then plywood walls usually used in DIY teardrop).
üVery rigid.
üWon't rotten or delaminate in case of water infiltration
ü

Friday 20 January 2012
Construction of my teardrop trailer


Why I choose to build my teardrop trailer
Over the time I have seen many homemade teardrop trailers on the Internet and they seem to be the best alternative to my old van.

Teardrop trailer seems to be the best RV to fulfill my needs:
üCheap to travel with/Easy on gas.
üCheap to buy/fabricate.
üSmall enough to go on any remote or downtown roads.
üLight enough to be pulled with my 4 cylinders car.
üLarge enough to accommodate 2.
üHas a head turning look.
üDryer and warmer camping experience then camping with a tent.
üSet up time of a few seconds comparing to tens of minutes with a tent trailer.
by: jean.rene.rodrigue@gmail.com
by: jean.rene.rodrigue@gmail.com
Thursday 19 January 2012
Construction of my Teardrop Trailer
Why I choose to build my teardrop trailer
Still looking for a cheaper way of RV’ing:

üWith a friend, I managed to pimp a 98 Ford Windstar to turn it into some kind of RV.
 üWe installed a mattress, an electric cooler, some storage bins, a table and reds velvet curtains.
üIt did the ride to California from Québec without problems.
A 10 years old van was probably going to cost a lot of $$$ in maintenance fees in the years to come added to registration and insurances fees.
Why I choose to build my teardrop trailer


Looking for a cheap way to travel
üI was willing to travel to the west coast (I live in Québec) in a small RV such as a VW Westfalia.
üUsed Westfalia and similar RV are overpriced and I couldn’t afford one in good shape.
Conclusion: it’s not a cheap solution at all !! Westfalia = $$$
Wednesday 18 January 2012
My teardrop trailer
My teardrop trailer
Why I choose to build one, my design, the construction and the use of my teardrop trailer.
www.teardroptrailerkit.com


 |
| Some other pictures |
Subscribe to:
Posts (Atom)